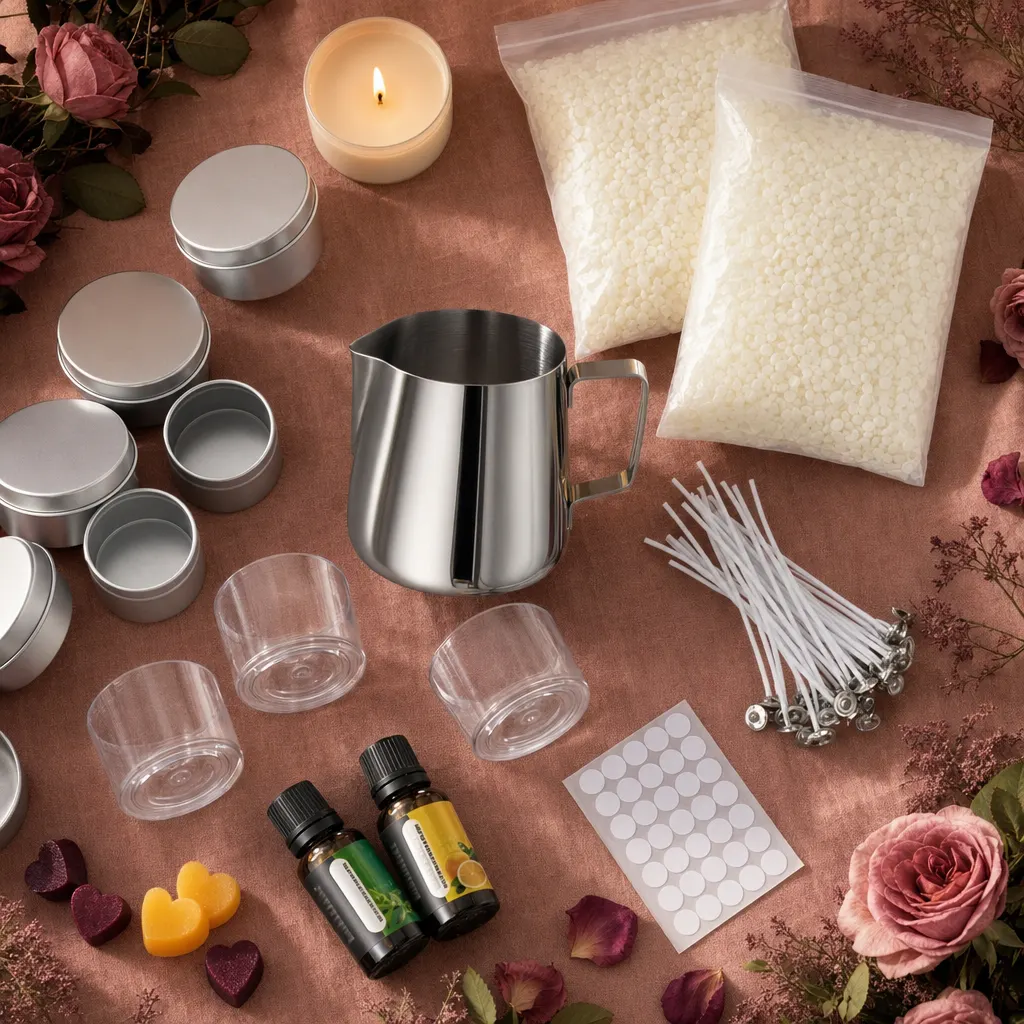
Candle Making Kit — Everything You Need in One Box
A stainless melting pitcher, soy wax, 70 wicks, 14 containers, two fragrance oils and four dyes, matched to each other so your first pour works. Free shipping, 30-day guarantee.
🔥 Selling fast — limited stock
✓ Free shipping ✓ 30-day money-back guarantee 🔒 Secure checkout
Why a Kit Beats Buying Supplies One by One
Search for candle supplies and you land in a specialist wholesaler's catalogue: nine wax types, a wick chart with a dozen series, fragrance oils sold by the pound, and containers priced by the case. Every one of those pages assumes you already know what you need. That is a fine assumption for someone on their fifth batch. It is also the reason most people who mean to try candle making never start.
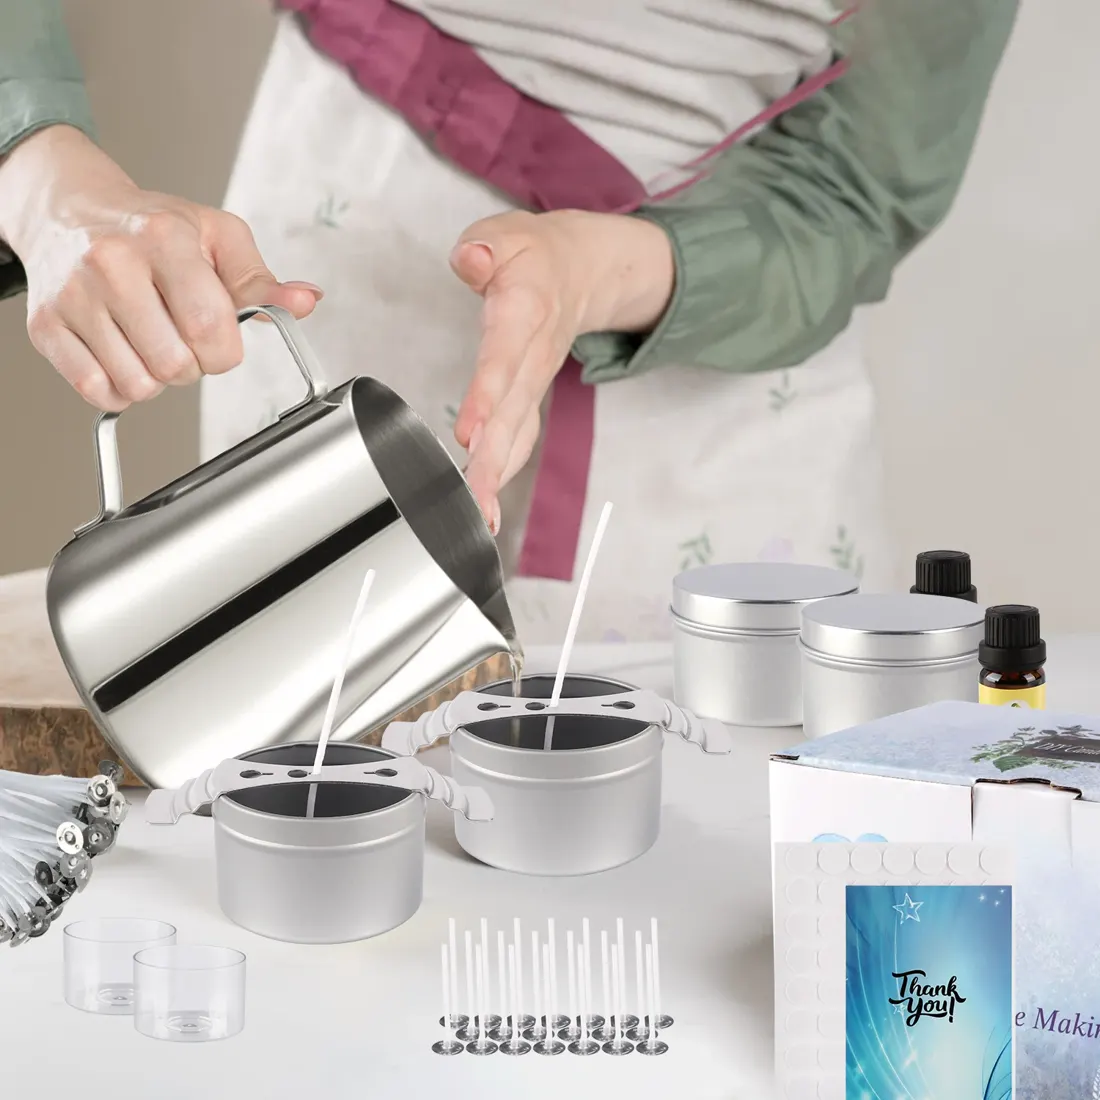
The kit inverts the problem. The wicks are pre-waxed with metal sustainers and sized for the tins and jars in the same box. The wax is soy, the forgiving choice for a first pour. The pitcher is stainless steel with a pouring spout, which is the one piece of equipment you genuinely cannot improvise, because tipping melted wax from a saucepan into a narrow container is how people burn themselves and their worktop.
What you get is a complete first session in one carton: melt, scent, color, pour, center the wick, wait. The parts you would have spent an evening comparing on a supply site are already matched. Once you know what you like, the individual components are cheap to restock and the pitcher, spoon and centering devices last for years, which is exactly the pattern buyers describe in their reviews.
Fourteen Containers, Seventy Wicks, One Pitcher
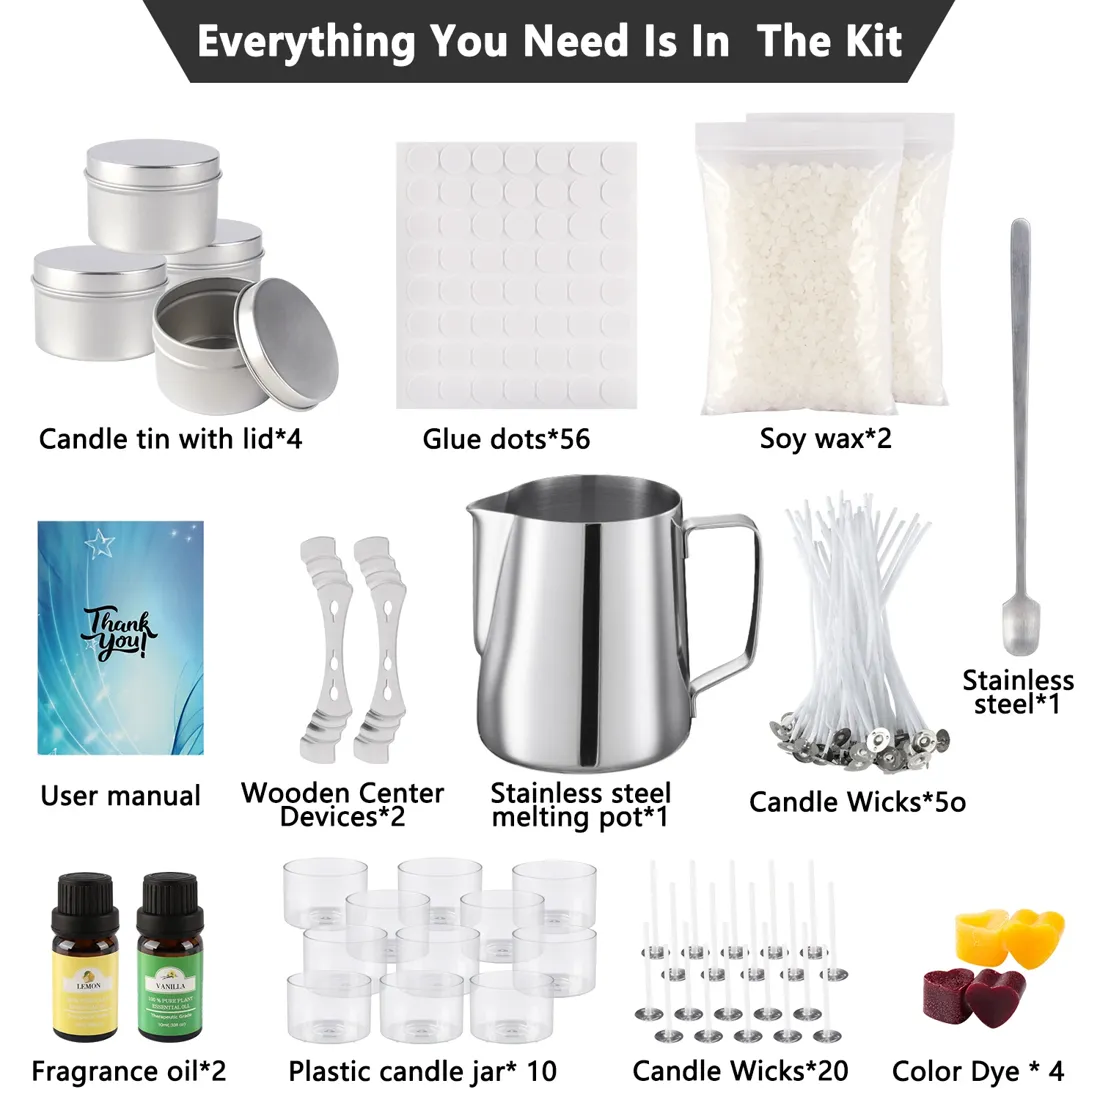
| Item | Quantity | What it is for |
|---|---|---|
| Stainless steel melting pitcher | 1 | Melts wax in a water bath and pours it without spilling |
| Soy wax | 2 bags | The candle itself, in flake form so it melts evenly |
| Candle wicks | 50 + 20 | Pre-waxed with metal sustainers, ready to stick and center |
| Candle tins with lids | 4 | Finished candles you can close and carry |
| Clear plastic jars | 10 | Small pours, testing scents, giving one away |
| Fragrance oils | 2 (lemon, vanilla) | Scenting the melted wax before pouring |
| Color dye blocks | 4 | Coloring the wax, a shaving at a time |
| Wooden centering devices | 2 | Hold the wick upright while the wax sets |
| Stainless steel spoon | 1 | Stirring fragrance and dye through the melt |
| Glue dots | 56 | Stick the wick base to the bottom of the container |
| Printed manual | 1 | The order of operations for your first pour |
Contents and quantities as printed on the kit. Our supplies breakdown explains what each item does in detail.
What We Found Reading All 120 Reviews
Before listing this kit we read every review published rather than skimming the star average, and tallied what buyers actually mention. The result is a clear split worth knowing before you order:
| What buyers mention | Times raised | Our read |
|---|---|---|
| Outer box arrived damaged | 11 | The most common comment by some margin. The carton travels a long way. |
| Items inside intact | 8 | Raised as often as it is precisely because the box arrives scuffed and the contents do not. |
| Fast delivery | 8 | Consistent with our 8-10 business day window. |
| Good quality for the price | 10 | Across the two phrasings buyers use for it. |
That tally tells you where the risk sits: in the carton, not the contents. It is also why we sell this as a kit to make candles with rather than a ready-to-gift box. If anything inside is affected, the 30-day guarantee covers it, and the how we test page sets out what the kit contains and what it leaves to you.
The Craft, in Context
average across 105 four and five star buyer reviews of this kit, with 900+ sold
— verified buyer review data, 2026
containers in every kit: four sealable metal tins and ten clear jars
— printed kit contents, 2026
pre-waxed wicks included, enough to re-pour the same containers many times over
— printed kit contents, 2026
Your First Candle, Start to Finish
1. Set up. Cover the surface, line up your containers, and put a saucepan of water on to simmer. The pitcher sits in the water rather than over direct heat, which is what keeps the wax from scorching.
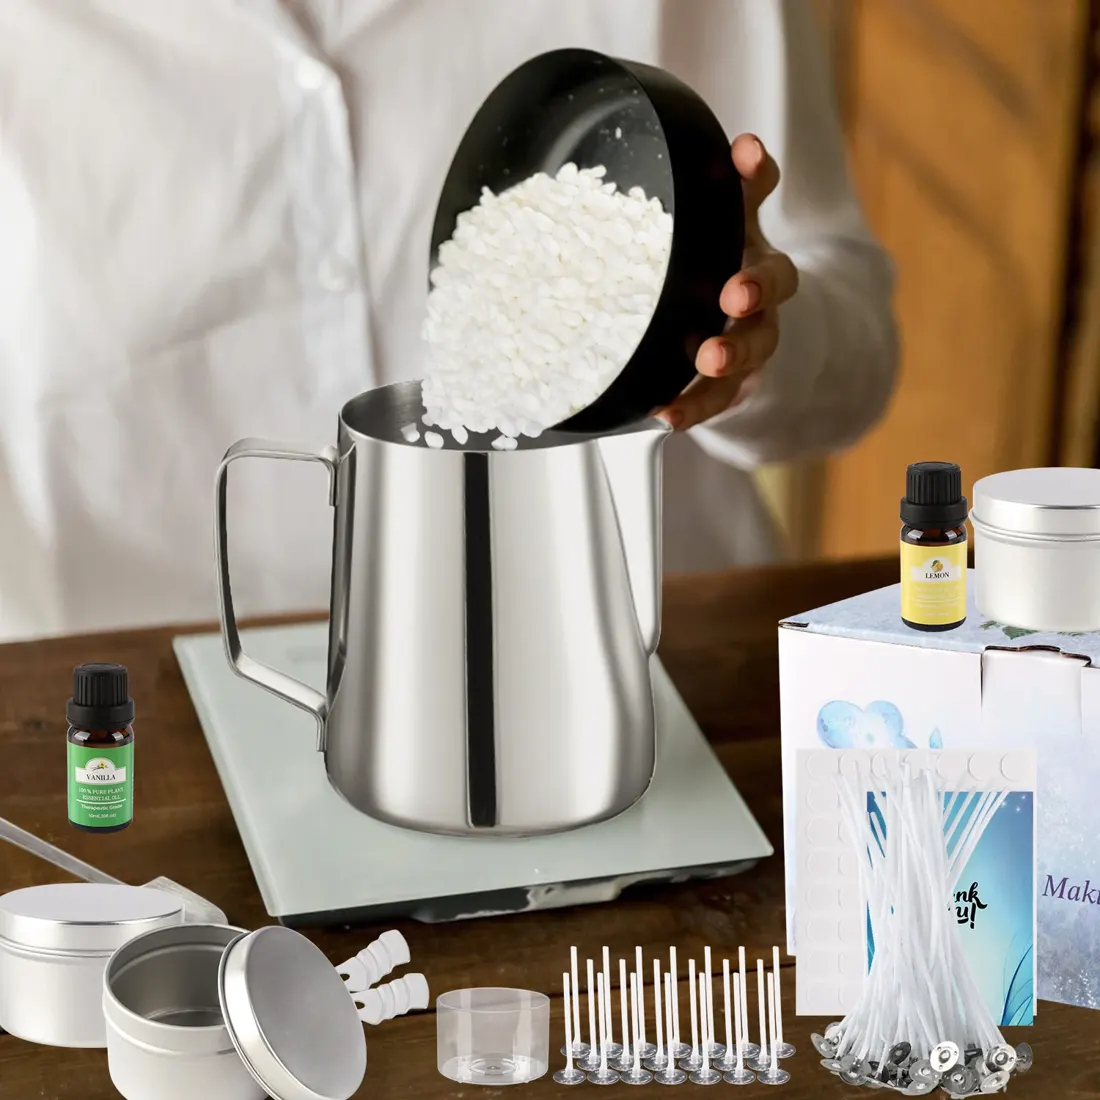
2. Melt. Pour flakes into the pitcher and let them go clear, stirring occasionally with the steel spoon. Soy melts at a comparatively gentle temperature, which is exactly why it is the beginner's wax.
3. Scent and color. Off the heat, stir in fragrance oil and a shaving of dye. Stir for longer than feels necessary, because under-stirred fragrance is the usual reason a homemade candle smells of nothing when it burns.
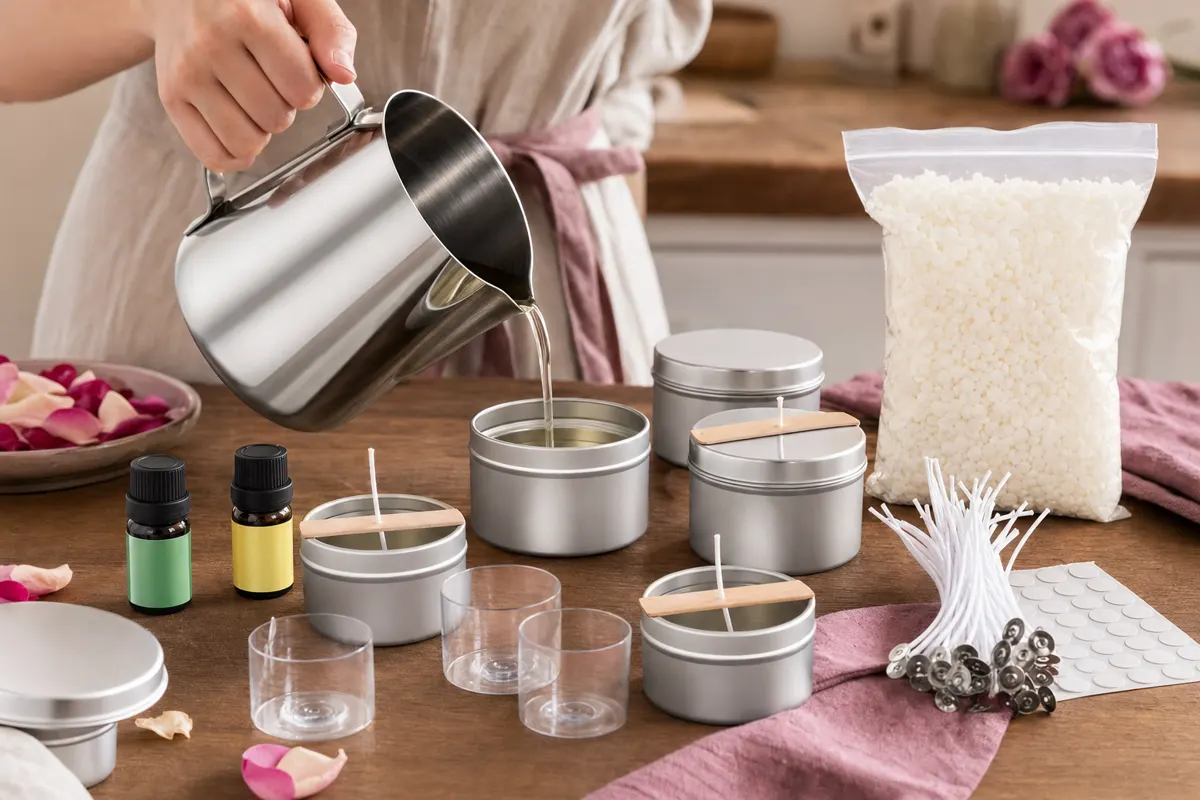
4. Wick and pour. Press a glue dot to the wick's metal base, stick it centered in the container, then pour steadily. Read our wick guide if you plan to move to wider containers later.
5. Set and cure. Rest the wick in a centering device and leave the candle undisturbed. It looks solid within hours, but soy candles smell and burn better after several days of curing, which is the part everybody skips exactly once.
Full walkthroughs in our guides: how to make candles at home and how to make soy candles.
Kit vs Separate Supplies vs a Class
| Criteria | Waxwright kit | Buying supplies separately | Candle making class |
|---|---|---|---|
| Cost to start | $49.95, everything included | Often more once shipping is added per item | Typically a per-person session fee |
| Decisions required | None, the parts are matched | Wax type, wick series, container size, fragrance load | None, but you choose nothing |
| Equipment kept | Pitcher, spoon, centering devices, 70 wicks | Whatever you bought | Nothing, you take home a candle |
| Candles produced | Up to 14 containers | Depends on quantities ordered | Usually one or two |
| Best for | Starting, and restocking later | Makers who know their preferences | An evening out, not a new hobby |
The read: if you already pour candles and know your wick series, buy components in bulk from a supply house and skip kits entirely. If you have never poured one, a matched kit is the cheapest way to find out whether the hobby sticks, and the pitcher and tools stay useful either way. Our kit for adults page covers the gifting and hobby angle, and the soy wax page the material itself.
The mistake I see in every beginner batch is impatience at both ends: wax poured while it is still too hot, and a candle lit two hours after it sets. Give the melt a moment and the finished candle a few days, and the same wax behaves completely differently.— Nadia Colbert, candle maker since 2014
Everything Else Worth Knowing
Sizes and dimensions
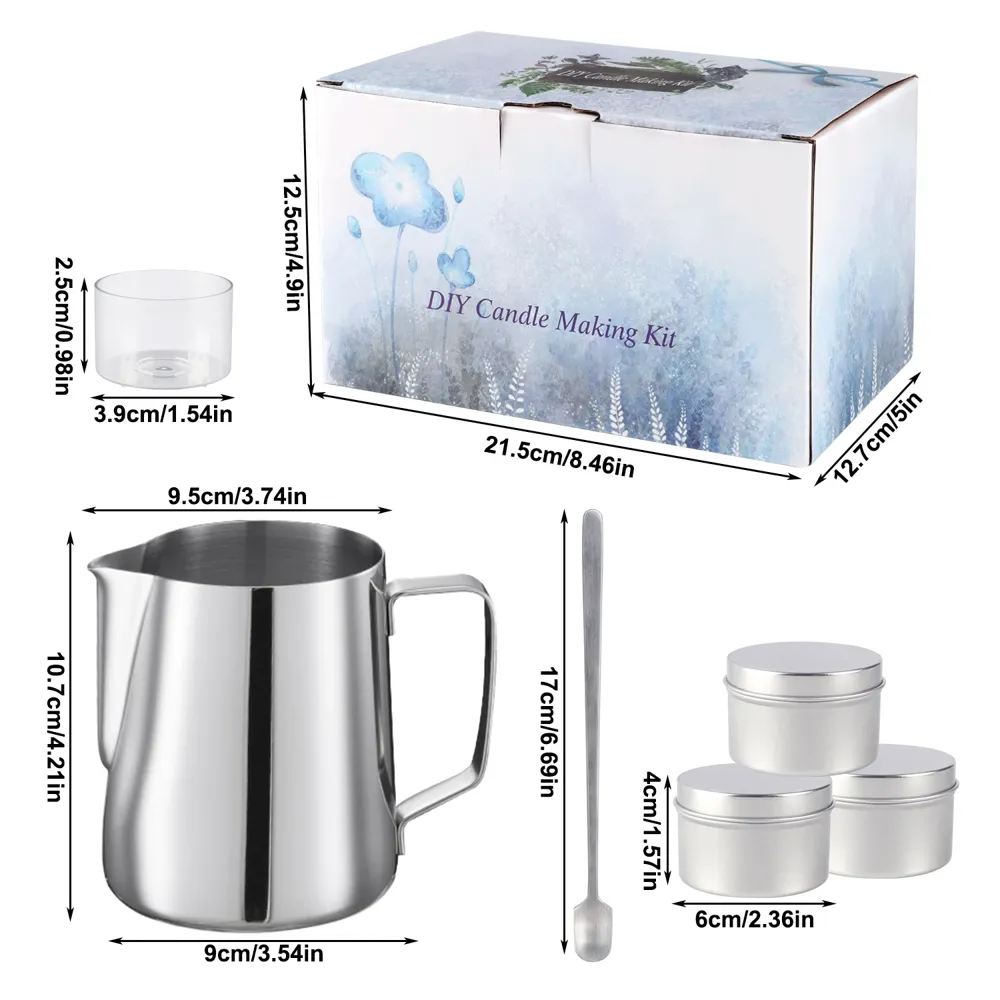
| Kit box | 8.46 × 5 × 4.9 in (21.5 × 12.7 × 12.5 cm) |
| Melting pitcher | 3.74 in wide × 4.21 in tall (9.5 × 10.7 cm) |
| Clear jars | 1.54 in diameter × 0.98 in tall (3.9 × 2.5 cm) |
| Candle tins | 2.36 in diameter × 1.57 in tall (6 × 4 cm) |
| Stirring spoon | 6.69 in (17 cm) |
All dimensions are the printed measurements, shown on the diagram above. No weight is published for the wax bags and no numbered wick size, so we quote neither.
Safety, honestly
Melted wax is hot enough to cause a burn, so this is an adult activity with children helping around the edges rather than a childrens craft. Use a water bath rather than direct heat, keep the pitcher handle away from the edge of the hob, and never leave melting wax unattended.
Once your candles are made, the ordinary rules apply: trim the wick before each burn, keep the flame clear of anything that catches, and never leave a lit candle in an empty room. None of this is specific to homemade candles, but a candle you poured yourself is one you will be tempted to light on the first evening, which is exactly when it has cured least.
Restocking after the first batch
The consumables run out well before the equipment does. Wax goes first, then fragrance oil, then containers. The pitcher, spoon, centering devices and the bulk of the 70 wicks carry on for many batches, which is what makes a second batch far cheaper than the first.
Restocking is also the moment to start choosing rather than accepting: a wax you prefer, a fragrance you actually love, containers that suit your home. Our guides on wax types and fragrance oils are written for exactly that second purchase, and the supplies page explains what each component does.
Pour Your First Candle This Weekend
The complete kit at $49.95, free shipping to 5 countries, 30-day money-back guarantee.
Get the kit →